
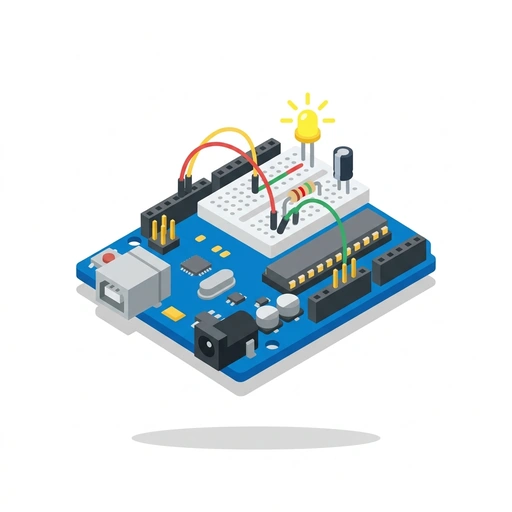
Circuit Design for Arduino
Bridge the gap between microcontroller code and reliable hardware. Learn how to drive high-power loads, clean up noisy sensor readings, stabilize power delivery, and protect components from catastrophic damage.
Like Duolingo, but for Circuit Design for Arduino. Tomo turns the whole topic into a game you play five minutes a day, until it actually sticks.
24 levels across 4 sections, about 48 minutes end to end, roughly 10 days at five minutes a day. It moves through Actuating and Driving Loads, Sensor Interfacing and Signal Integrity, Clean Power and Hardware Protection, and Circuit Diagnostics and Component Selection. It assumes you already know the basics.
Free forever · No credit card · iPhone & Android

Key ideas in Circuit Design for Arduino
- Standard microcontroller GPIO pins can safely source or sink only 20mA to 40mA of current.
- Loads like motors and heaters draw amps of current, far exceeding GPIO silicon drive limits.
- Exceeding an I/O pin's absolute maximum current burns out the internal output stage transistors.
- A MOSFET gate is electrically isolated by an oxide layer, drawing negligible DC current.
- N-channel MOSFETs are placed on the low side, sitting between the load and ground rail.
- Voltage applied to the gate controls conduction through the channel without continuous current flow.
- Gate threshold voltage Vgs(th) marks only microamps of conduction, not full switch turn-on.
- Standard MOSFETs often require 10V at the gate to achieve minimum on-resistance (Rds(on)).
- Driving a standard MOSFET with 3.3V logic leaves it partially on, generating destructive heat.
- A MOSFET gate acts like a small capacitor that draws a large inrush spike when charging.
- Unrestricted capacitive inrush current can briefly exceed the pin's maximum pulse rating.
- A 100Ω to 330Ω series resistor slows charging just enough to cap the peak pin current.
- Microcontroller pins float as high-impedance inputs during power-up and reset cycles.
- A 10kΩ pull-down resistor bleeds charge to ground, holding the MOSFET off during boot.
- A series gate resistor limits peak inrush current without disrupting DC gate voltage.
- Inductors oppose current changes by producing a counter-electromotive force
You've tried the other tabs
Thirty open tabs. Four facts you actually kept.
You watched. You nodded. By Sunday it was gone.
One answer, then back to scrolling.
Eight weeks. You meant to finish. You didn't.
Tomo gives Circuit Design for Arduino the Duolingo treatment: levels, streaks, and quick quizzes that test what you just learned. That game loop is what the tabs above never had, so it's the one you actually finish.
Here's what playing it feels like
A real question from this course. Take your best guess.
About how much current can a typical microcontroller general-purpose input/output (GPIO) pin safely deliver?
Get it right to open this lesson and 23 more in the app.
Where Circuit Design for Arduino takes you
- 1
Actuating and Driving Loads
- Switching High-Current Loads with MOSFETs
- Controlling Inductive Loads Safely
- 2
Sensor Interfacing and Signal Integrity
- Voltage Scaling and Logic Level Translation
- Filtering Noise from Analog and Digital Signals
- 3
Clean Power and Hardware Protection
- Power Regulation and Thermal Management
- Decoupling and Power Rail Noise Suppression
- 4
Circuit Diagnostics and Component Selection
- Systematic Hardware Debugging
- Sizing and Derating Passive Components
4 sections · 8 units · 24 levels. Built to play, not to enroll.
Tomo is in ChatGPT
Tomo is also a ChatGPT plugin: the same playable courses, built and played inside your chat.
Add Tomo to ChatGPT- What to ask
- “Make me a Tomo course on black holes.” “Turn this chat into a Tomo course.”
- What you get
- Quick questions with instant feedback, hearts and stars, ready to play in about a minute.
- Where it goes
- No sign-up to start. Connect your Tomo account and your streak carries on in the app.
You pick the voice
Circuit Design for Arduino is taught in the Professor style: clear, structured, thorough. Want a different feel? In the app you can spin up the same topic in any of Tomo's teaching styles. Same facts, totally different vibe.
More Technology on Tomo
Ohm's Law in Circuit Design
Bridge the gap between textbook formulas and reliable hardware. Learn how professional engineers apply Ohm's law to size real loads, account for parasitic resistance, troubleshoot ground drops, and manage thermal limits.
Building Working Circuits
Bridge the gap between textbook schematics and hardware that actually turns on and runs reliably. Learn to select the right components, tame noise and power drops, and diagnose real circuits on the bench.
Practical Circuit Design
Move beyond basic breadboard recipes to design reliable, real-world circuits. Learn to drive high-power loads, shape signals with op-amps, clean up noisy power rails, and debug circuits with confidence.
Electronic Circuit Troubleshooting
Move beyond basic multimeter readings to systematically diagnose and repair complex hardware failures. Learn to isolate faults, interpret signal noise, and reverse engineer circuits without a map.
Real-World Circuit Design
Move past idealized textbook schematics into the physics of high-speed signals, control loop stability, and electromagnetic compliance. Master parasitic management, noise reduction, and robust power delivery.
Heavy Machinery & Automotive Electronics Diagnostics
Move beyond basic multimeter checks and component swapping. Master loaded circuit analysis, oscilloscope waveform interpretation, J1939 CAN physical layer troubleshooting, and ECU driver stage diagnostics in complex machines.
Start Circuit Design for Arduino today.
Download Tomo, search Circuit Design for Arduino, and play your first lesson in under a minute.